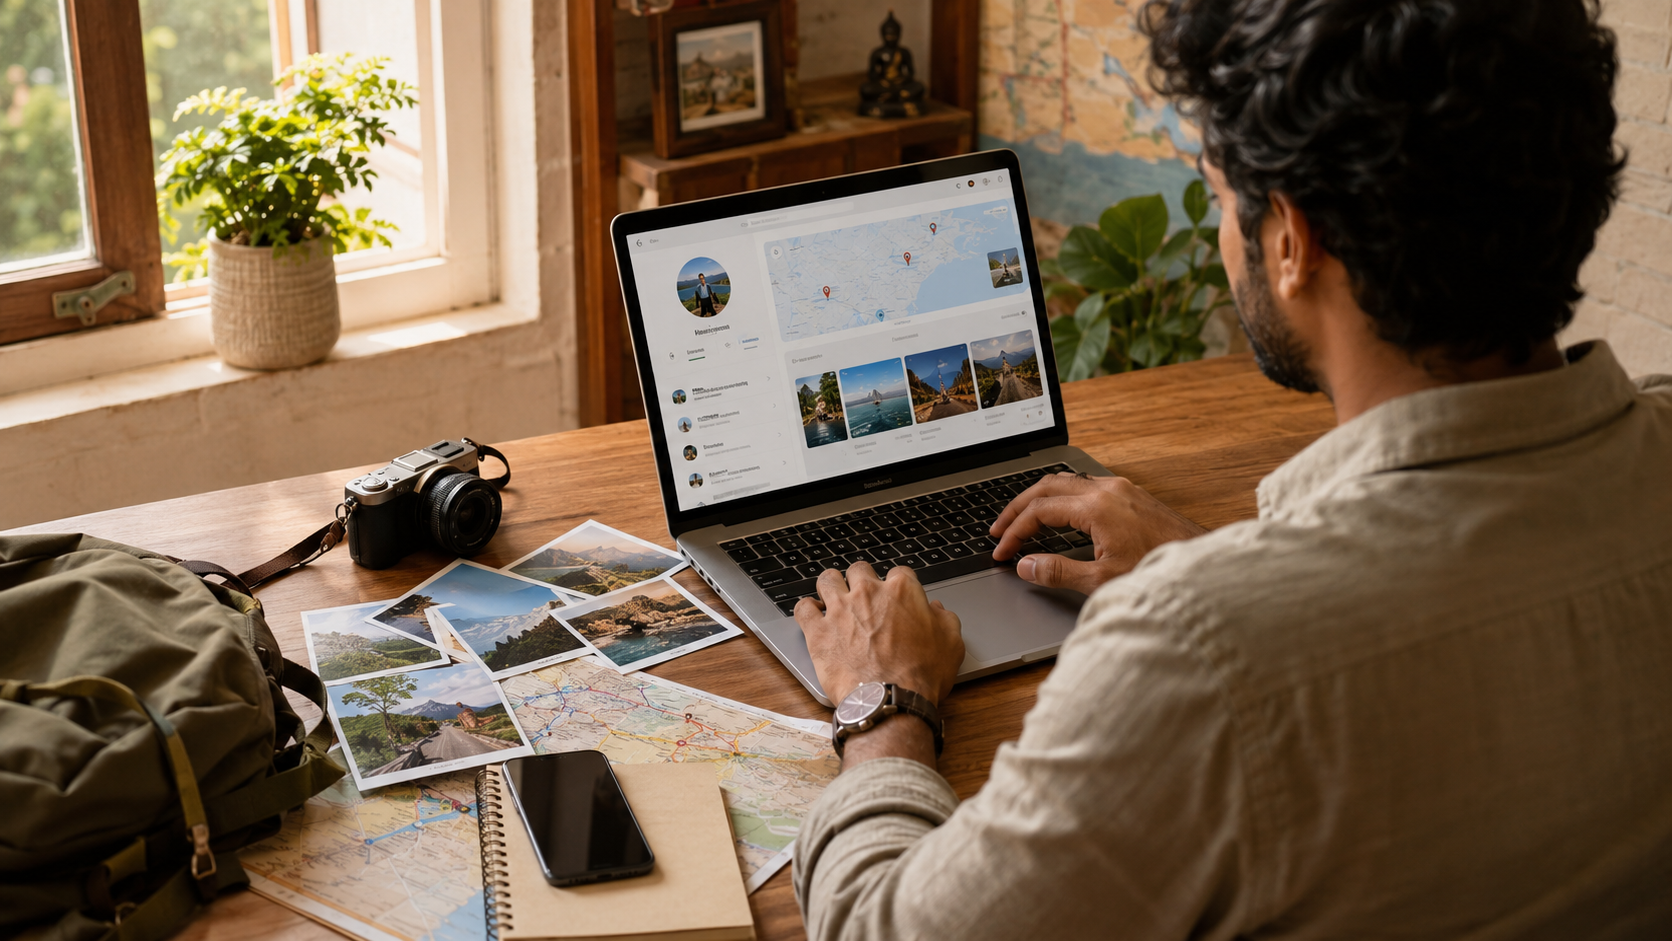
Trips end, photographs get buried, and small details slowly disappear. Jyurniq helps you preserve the complete story: where you travelled, what you explored, who joined you, what you spent, and the moments you want to remember.
1. Create Your Travel Profile
Create an account and choose a unique username. Your username becomes your public Jyurniq address, where others can discover the journeys you choose to share.
Personalise your profile by adding:
A profile photo
A short biography
Social media links
Custom links and useful profile sections
These details help make your travel profile feel truly your own.
2. Record a New Journey
Select New journey whenever you want to document a trip.
You can add:
Journey title
Primary destination
Travel dates
Description
Places explored
People you travelled with
Modes of transport
Travel expenses
Rating
Photographs
Do not worry about writing everything perfectly the first time. Begin with the details you remember and improve the entry later.
3. Choose Between a Log and a Post
Jyurniq gives you two ways to record your travels.
Journey Log - Use a log for personal travel records, quick updates, expenses, dates, and places visited. Logs help you build a complete private history of your travels.
Journey Post - Use a post when you want to tell a more detailed story that can appear on your public travel profile.
4. Control Who Can See Each Journey
Every trip does not need to be public. Choose the visibility setting that suits each entry:
Draft: Save unfinished work and continue writing later.
Private: Keep the journey visible only to you.
Unlisted: Make the journey accessible through a direct link.
Public: Display the journey on your public profile.
You can change the visibility whenever you edit the journey.
5. Build Your Travel Identity
As you add journeys, Jyurniq turns them into a personal travel timeline.
Your profile can show:
Journeys recorded
Places explored
Total travel expenditure
Average journey ratings
Published travel stories
Custom links and profile sections
Instead of scattering your memories across notes, spreadsheets, galleries, and social media, you get one organised home for your travels.
6. Write for the Jyurniq Travel Blog
Journey posts document your personal trips, while the Jyurniq Blog is designed for broader travel writing.
You can submit articles such as:
Destination guides
Food recommendations
Cultural stories
Accommodation advice
Budget tips
Personal travel lessons
To begin, open:
Dashboard → Travel Blogs → Write a Blog
Add a title, cover image, category, optional location, tags, and your article.
After submission, the Jyurniq editorial team will review your blog. If changes are required, you will receive the reason and can edit and resubmit your article. Once approved, it will appear in the public Jyurniq Blog.
7. Keep Updating Your Memories
Travel memories often return gradually. Edit older journeys whenever you remember another café, viewpoint, expense, photograph, or useful detail.
A small update today may become the detail you value most years later.
Your Journey Deserves More Than a Photo Gallery
Jyurniq is not about collecting destinations. It is about preserving what travelling felt like.
Start with one trip. Add the details you still remember. Your personal travel story will grow naturally from there.

Conversation
1 comment
Really helpful guide! I gave Jyurniq a try, and honestly, it was amazing. Adding my trip details and turning them into a proper travel story was so simple and fun. It feels much better than letting all those memories just sit forgotten in my phone gallery!